
The pictures on my website regarded first rate and loaded rapidly. I believed that was sufficient. Then I invested a while in making them Retina-ready and WOWZA, the upgraded pictures regarded phe-nom-e-nal! Now there’s no manner I can return.
Retina units have extra pixels per inch, in order that they require high-resolution photos to fill in these further pixels. However Apple units aren’t the one pixel gobblers. Floor tablets, Android telephones, iPhones, all of them require Retina-ready photos.
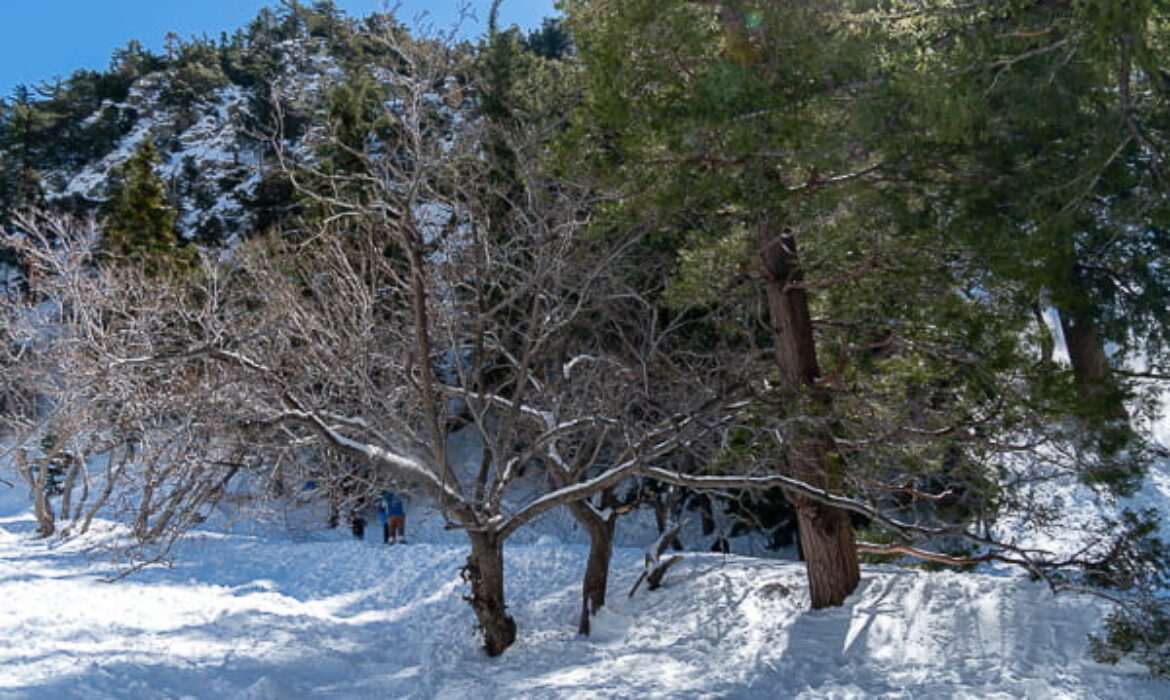
On this put up, I’m going to indicate you ways I created high-resolution photos in WordPress for Retina units. I’m going to show you easy methods to take your pictures from this…
…to this…
…all whereas ensuring that you simply ship probably the most optimized file you possibly can as a result of these stunning excessive definition photos are huge and can decelerate your website massive time if not served appropriately.
P.S. If the pictures above look the identical, that’s as a result of your machine doesn’t help excessive definition photos, however they’re changing into more and more widespread so you must take the time to optimize for high-resolution screens.
The WordPress Information to Retina Pictures
Your display consists of 1000’s (possibly tens of millions when you have an enormous display) of tiny squares, known as pixels. To render a picture, the picture file has directions for every pixel in your display, telling it which coloration it must be with the intention to produce the picture.
Picture decision extremely impacts how your picture seems on display, however not in the way in which you may suppose. We assume decision on screens works the identical as decision on paper, however it doesn’t.
So let’s take a look at your assumptions with a pop quiz!
1. Which decision produces the smallest file measurement?
A) 72 DPI
B) 150 DPI
C) 300 DPI
D) All the above
2. At what decision do you have to save your photos so they give the impression of being top quality on the internet?
A) 72 DPI
B) 150 DPI
C) 300 DPI
D) Who cares?
The reply to each questions is D.
Someplace alongside the way in which, I discovered that 72 DPI was the usual decision for the net. I assumed that if I wished my photos to look good on Retina screens, I ought to double that quantity. I selected 150 DPI as a result of it was a pleasant spherical quantity that gave me just a little further, so I began saving all the pictures on my website at 150DPI.
I now know that I used to be completely mistaken.
For one, DPI doesn’t have an effect on how a picture seems in your website. DPI stands for dots per inch on paper. Right here’s what’s actually happening.
Try these three photos that have been saved at totally different DPIs:
72 DPI, 149KB
150 DPI, 149KB
300 DPI, 149KB
All of them look the identical and so they all have the identical file measurement. Obtain them and open them in Photoshop in the event you don’t imagine me.
All of them have the identical file measurement as a result of all of them have the identical directions for a similar variety of pixels.
Your display doesn’t give a hoot about DPI, however your printer does. DPI tells your printer how densely to pack collectively the pixels on the display when it prints out the picture on paper.
Right here’s what these three photos seem like after I printed them:
All the pictures printed on one sheet of paper
Decision communicates how densely you need the picture knowledge to show. If I’ve a 100px by 100px picture, I’ve knowledge for 10,000 pixels.
In a high-resolution picture, I’m packing that knowledge right into a smaller house, producing extra element.
For a low-resolution picture, I’m spreading that knowledge out over a bigger space.
The picture decision doesn’t change the quantity of knowledge within the picture, simply how densely that knowledge seems.
Miss-iss-i-PPI
PPI or pixels per inch is a measure of what number of pixels a display can show in an inch.
Retina screens have twice as many pixels, vertically and horizontally, which signifies that the house that was once occupied by one pixel, now has 4 pixels!
As we all know from above, we don’t have sufficient knowledge to present directions to all these new pixels. For this reason common photos on Retina screens look so dang blurry. Right here’s that bug once more.
Retina, 398KB
Not Retina obvi
Relatively than serving up an attractive however tiny picture to protect the element like with print, Retina screens attempt to unfold the info out. The poor uncared for pixels who don’t have knowledge of their very own, attempt to use the info from the pixels round them to determine what coloration they need to be, like a bunch of jockers.
They’re doing their greatest, however let’s be sincere, they’re doing a crappy job.
To repair this we have to present WordPress with denser photos so there’s sufficient knowledge to go round. Which brings us to easy methods to make retina photos, step 1…
The best way to Make Pictures Retina Prepared?
Step 1. Produce photos with double the pixels
Step 2. Serve Retina Pictures to Retina Gadgets
Step 3. Add Retina Pictures to your Web site
Step 1: It’s good to produce photos with double the pixel dimensions to your website
In case you’re following greatest apply, then that you have to scale your photos to the appropriate measurement earlier than you add them. To provide Retina photos in WordPress with sufficient knowledge for each pixel, you have to double the pixel dimensions for each picture you add.
In case you have a big hero picture that’s 1600px broad and 400px tall, you have to produce a picture that’s 3200px broad and 800px tall. If the width of your weblog is 800px, then the pictures to your weblog posts must have a width of 1600px and so forth.
You solely have to double the pixel dimensions for the largest potential measurement that your picture will show at. You do NOT have to create photos with double dimensions for each potential responsive measurement.
You possibly can save your photos with @2x within the filename earlier than the file extension, however it isn’t vital because the plugin under will do that for you.
The best way to make Retina photos for photos that I’ve already uploaded?
Making your website Retina-friendly is usually a time-consuming course of if you have already got a website with a lot of content material as a result of it’s a must to return to the unique photos you downloaded from the net or your digital camera and produce the suitable measurement. You possibly can’t merely obtain the picture and upsize it in Photoshop otherwise you’re going to get the identical blurry outcomes.
In case you weren’t scaling your photos and have been importing an enormous picture, you may get fortunate if the pictures are sufficiently big. In case you have been importing a big picture measurement (2000px x 800px) for all of your photos, even when they have been solely going to seem within the physique of the weblog at 800px, you then don’t need to add a big substitute. You have already got a picture with sufficient knowledge that may suffice, even when it’s a bit outsized; nevertheless, it’s best apply in the event you produce the precise measurement you want for efficiency advantages.
Step 2: Serve Retina Pictures to Retina Gadgets
There a whole lot of alternative ways to do that. I’m going to indicate you two. First I’ll present you handbook manner so that you code lovers can see what’s going on. Then, I’ll present you the short and straightforward manner for all you code haters 😉
Possibility 1: Manually Modify Srcset in WordPress
One of many higher methods to serve Retina photos is by utilizing the srcset attribute. Right here’s the way it works. As an alternative of utilizing the src attribute to share one picture, you give the browser a listing of photos to select from. The browser then picks downloads and shows probably the most acceptable picture for the customer’s machine. This not solely works for Retina photos, however you need to use it to serve totally different photos sizes or totally different codecs too.
We’re going to concentrate on Retina photos, so in our srcset attribute, we have to embody an everyday picture for non-Retina units and a Retina picture for Retina units. You don’t need to waste time downloading and serving outsized photos on non-Retina screens, so it will be significant that you simply embody each. You additionally want to incorporate the standard src tag for browsers that don’t help srcset but.
That is what it’s going to seem like:
<img srcset=”logo_regular.jpg 1x, logo_retina.jpg 2x” src=”logo_regular.jpg”/>
See the 1x and 2x? This helps the browser establish which picture is the common model and which is the Retina model. If the person has a Retina machine, the browser wills serve the 2x picture. In the event that they don’t, it’ll serve the 1x model. And if the browser doesn’t help srcset, then it’ll use the one within the src attribute.
Simple proper? You simply add the srcset attribute to your HTML code once you’re inserting photos and you’ll serve up Retina photos…besides it’s by no means that straightforward.
The issue is you’re not giving the browser smaller photos for smaller units. In different phrases, the above code doesn’t produce responsive photos. You possibly can serve an enormous Retina photograph on a tiny iPhone over 4G.
Right here’s the place it may get difficult as a result of you have to add much more attributes to arrange all of the totally different choices you need to give the browser.
First, you’ll have to graduate to the HTML5 <image> factor.
The <image> factor has much more happening:
<image>
<supply srcset=”picture.jpg” sort=”picture/jpeg”>
<img src=”picture.jpg” alt=”my picture” width=”100″ peak=”100″>
</image>
See how the <img> is nested throughout the <image> factor? Browsers that don’t help the HTML5 <image> factor will fall again to the picture specified within the <img> factor. In reality, the <img> is a requirement (or the picture will fail to render) and should seem final.
However the coolest half in regards to the <image> factor is the <supply> factor that’s tucked inside. The <supply> components permit media queries within the media attribute. To offer the browser totally different responsive picture choices, you’ll insert a number of <supply> components within the <image> factor and inform the browser when it’s acceptable to make use of it, with the media attribute. You’ll then add a Retina picture and an everyday picture to the srcset attribute within the <supply> factor. Let’s get a gist going as a result of it’s a lot.
Nicely…that escalated rapidly. And also you don’t even wanna understand how for much longer it will get once you add WebP picture choices.
I wouldn’t suggest modifying all of your photos to incorporate all this further code manually. You positively need to use a software to assist automate this course of or a plugin to switch your HTML. Which brings us to the WP Retina 2x plugin.
Possibility 2: Set up and Configure the WordPress Retina 2x plugin
WP Retina 2x is a free plugin within the WordPress repository with a Professional model. The free model will suffice for this tutorial.
WP Retina 2x plugin
Why is WordPress Retina 2x one of the best plugin for the job?
You gained’t need to manually edit your HTML code so as to add Retina photos
In contrast to another Retina plugins, WordPress Retina 2x doesn’t require you to rename all of your photos with @2x to establish them as Retina photos.
WordPress Retina 2x is suitable with caching plugins, which might’t be stated for all Retina plugins.
It has a media library view (see under) so you possibly can maintain monitor of what photos should be Retina-fied. That is helpful when you have a website with a whole lot of present photos.
The plugin provides you a number of choices for easy methods to serve up your Retina photos in WordPress, so if one technique is incompatible what your website, you possibly can change to a different technique.
It integrates nicely with Smush and Smush Professional
Upgrading to WP Retina 2x Professional provides you with extra instruments to hurry up the method of importing and changing a whole lot of present photos
Let’s concentrate on that final cause as a result of picture optimization turns into much more essential when working with Retina photos.
With the beetle photograph above, you possibly can see how the Retina picture file measurement is twice as massive because the common picture. In case you have a whole lot of photos per web page, then this may drastically decelerate your website.
Smush may help you optimize your photos, however Smush Professional provides you with an additional benefit. The Smush Professional CDN can mechanically convert your photos to WebP recordsdata, that are a lot smaller than comparable JPEGs and PNGs. The Smush Professional CDN additionally mechanically resizes your picture, so in case your media library has outsized photos, the Smush Professional CDN will serve up the appropriate measurement. Strive Smush Professional free right here.
The best way to Configure the WordPress Retina 2x plugin to Make Pictures for Retina Show
Let’s go over some obtainable settings within the WordPress Retina 2x plugin.
Fundamental Settings
Disabled Sizes means that you can keep away from changing sure picture sizes to Retina with the intention to save disk house.
Retina High quality means that you can set the compression high quality for JPEG.
The essential setting on this web page is Technique. You’ve got a number of choices for serving up Retina photos.
If one technique isn’t working correcting, select one other.
PictureFill
PictureFill is the really useful technique for serving Retina photos. It makes use of the JS polyfill to load the pictures or rewrites the HTML to make use of the srcset attribute in WordPress.
Responsive Pictures
To make use of the Responsive Pictures technique, you have to be utilizing WordPress 4.4 or later, which mechanically makes use of the srcset attribute in WordPress. The plugin provides the Retina photos to the supply set.
Retina.js
This technique depends totally on JavaScript. The HTML masses each the conventional picture, then if Retina help is detected, it additionally masses the Retina picture, so each picture recordsdata are downloaded.
HTML Rewrite
HTML rewrite modifications the src tags when a Retina machine is detected, however might doubtlessly have points when used with some caching plugins.
Retina -Pictures
The Retina photos technique will modify your .htaccess recordsdata with the intention to serve the suitable recordsdata. This technique won’t work in the event you’re utilizing a CDN such because the Smush Professional CDN.
Superior Settings
Within the superior settings part, you have to allow Auto-Generate so new uploads mechanically get a Retina file created. Then save your settings by pushing the blue button.
Auto generate is the essential setting right here
Step 3: Add your Retina Pictures to WordPress and Use Them on Your Website
After you’ve created Retina photos and configured the plugin, it’s time to add them to your website. The add course of is identical though you might have to alter your website settings so you possibly can add enormous recordsdata to your media library.
The picture has a width of 1200px, however I’ll want to make use of the model that’s 600px with the intention to get Retina high quality
Once you’re going to make use of the picture in your website, you’ll need to use the picture variation that’s half the width and peak of the total measurement.
The plugin solely acknowledges photos that are created by the media library. For photos that the plugin doesn’t acknowledge, comparable to theme icons and logos, you’ll have so as to add @2x to the file title, earlier than the .png or .jpeg extension. Then add the file to the identical place as the unique for the WP Retina 2x plugin to acknowledge it as a Retina file and serve it on suitable units.
So for instance, when you have a website icon that’s 200 x 200px with the filename icon.png, you’ll create a 400 x 400px model and title it icon@2x.png and add it by way of FTP or SFTP to the identical folder as the unique icon.png. The plugin will handle the remaining.
As I discussed earlier, in the event you’re engaged on a website with a whole lot of present photos, the WP Retina 2x Professional plugin has some time-saving instruments to make the method of importing and changing the present photos straightforward.
Potential points with WP Retina 2x
Remember that you could be expertise points utilizing the WP Retina 2x plugin in the event you’re utilizing sure slideshow plugins or incompatible CDNs. The WP Engine CDN, for instance, is thought to trigger points so that you’ll have to switch the re-writing rule in your WP Engine settings, directions right here. In case you’re utilizing Amazon S3, you shouldn’t use WP Retina 2x in any respect.
In case you’re on the lookout for a CDN that simply works with WP Retina 2x and doesn’t decelerate WordPress, may I counsel you give Smush a attempt? You need to use the free model to optimize and enhance your photos, however with the intention to get entry to the CDN and actually take some weight off of these heavy Retina photos, Smush Professional goes to present you what you want. You possibly can join a free trial of Smush Professional right here.
To activate the Smush Professional CDN, set up the Smush Professional plugin. Then within the Smush settings, go to the CDN part and push the Get Began button.
The Smush CDN is included with Smush Professional
When you activate the CDN, I counsel enabling WebP conversion. WebP picture recordsdata are considerably smaller so changing your photos will make your pages load a lot sooner. You will get a full break down on advantages right here.
Changing your photos to a extra environment friendly file sort is straightforward with Smush Professional
You’ll additionally need to activate automated picture resizing. This manner when you have outsized photos, you gained’t burn up a lot file house serving up a bigger picture than you want. Simply flip the Allow automated resizing of my photos change within the Smush Professional CDN settings.
Flip the Allow Computerized resizing of my photos change to hurry up WordPress
The Smush CDN will let you serve up probably the most environment friendly Retina photos so you will get the standard you need with out the bloat that slows down your website.
That’s All
Whereas utilizing the Smush Professional CDN and the WP Retina 2x plugin is the easiest way to serve up most Retina photos in WordPress, SVG photos are additionally an possibility for easy graphics comparable to flat logos and icons. You possibly can be taught extra about this difficult file sort right here.
Retina photos are solely served to guests with succesful units, different guests gained’t expertise a change in efficiency. With the WP Retina 2x plugin, they’ll nonetheless get the identical photos they at all times have, that’s, till they improve.
Retina units have gotten an increasing number of widespread so you must begin upgrading your website. One of the best place to begin is by ensuring all the brand new photos you add to your website are Retina-ready. Then, modify the most important, most visually spectacular photos in your website by making a Retina model and changing the present picture. Then, undergo and scale all of the outsized photos which can be left within the physique of weblog posts and what not. You’ll have a beautiful website with improbable pictures earlier than it.


Subscribe to MarketingSolution.
Receive web development discounts & web design tutorials.
Now! Lets GROW Together!