
Working with code is a dangerous endeavour: There are numerous methods to shoot your self within the foot! However for those who use Git as your model management system, then you’ve gotten a wonderful security internet. A number of “undo” instruments will show you how to get well from nearly any kind of catastrophe.
On this first article of our two-part sequence, we are going to take a look at varied errors — and the right way to safely undo them with Git!
Discard Uncommitted Adjustments in a File
Suppose you’ve made some modifications to a file, and after a while you discover that your efforts aren’t main anyplace. It will be finest to start out over and undo your modifications to this file.
The excellent news is that for those who haven’t dedicated the modifications, undoing them is fairly simple. However there’s additionally a little bit of unhealthy information: You can not deliver again the modifications when you’ve undone them! As a result of they haven’t been saved to Git’s “database”, there’s no approach to restore them!
With this little warning out of the best way, let’s undo our modifications in index.html:
$ git restore index.html
This command will restore our file to its final dedicated state, wiping it clear of any native modifications.
Restore a Deleted File
Let’s take the earlier instance one step additional. Let’s say that, relatively than modifying index.html, you’ve deleted it completely. Once more, let’s suppose you haven’t dedicated this to the repository but.
You’ll be happy to listen to that git restore is provided to deal with this example simply as simply:
$ git restore index.html
The restore command doesn’t actually care what precisely you probably did to that poor file. It merely recreates its final dedicated state!
Discard A few of Your Adjustments
Most days are a combination of excellent and unhealthy work. And typically we’ve each in a single file: A few of your modifications will likely be nice (let’s be beneficiant and name them genius), whereas others are match for the rubbish bin.
Git lets you work with modifications in a really granular method. Utilizing git restore with the -p flag makes this entire undoing enterprise rather more nuanced:
$ git restore -p index.html
Git takes us by the hand and walks us by each chunk of modifications within the file, asking whether or not we need to throw it away (through which case, we might kind y) or preserve it (typing n):
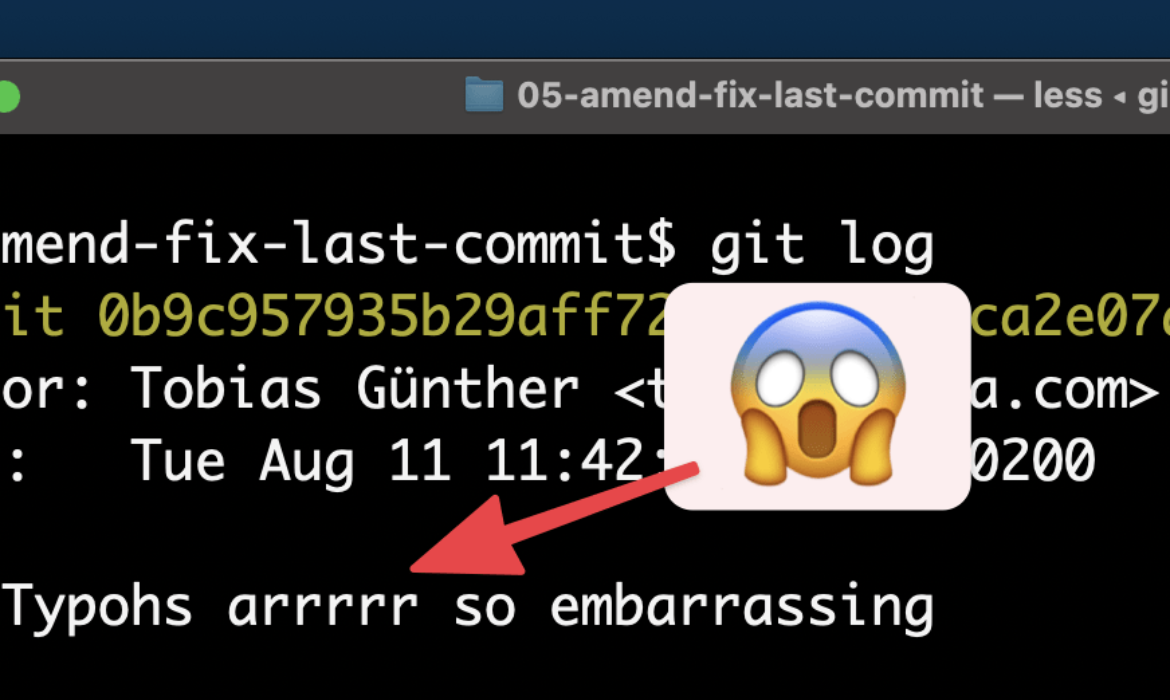
Utilizing the –amend possibility lets you change this final commit (and solely this one):
$ git commit –amend -m “A message with out typos”
In case you’ve additionally forgotten so as to add a sure change, you may simply accomplish that. Merely stage it like another change with the git add command, after which run git commit –amend once more:
$ git add forgotten-change.txt
$ git commit –amend –no-edit
The –no-edit possibility tells Git that we don’t need to change the commit’s message this time.
Revert the Results of a Dangerous Commit
In the entire above instances, we had been fairly fast to acknowledge our errors. However usually, we solely be taught of a mistake lengthy after we’ve made it. The unhealthy commit sits in our revision historical past, peering snarkily at us.
After all, there’s an answer to this downside, too: the git revert command! And it solves our problem in a really non-destructive method. As an alternative of ripping our unhealthy commit out of the historical past, it creates a new commit that comprises the other modifications.
Performing that on the command line is so simple as offering the revision hash of that unhealthy decide to the git revert command:
$ git revert 2b504bee
As talked about, it will not delete our unhealthy commit (which might be problematic if we’ve already shared it with colleagues in a distant repository). As an alternative, a new commit containing the reverted modifications will likely be robotically created.
Restore a Earlier State of the Venture
Typically, we’ve to confess that we’ve coded ourselves right into a lifeless finish. Maybe our final couple of commits have yielded no fruit and are higher off undone.
Fortunately, this downside is fairly simple to resolve. We merely want to offer the SHA-1 hash of the revision that we need to return to once we use the git reset command. Any commits that come after this revision will then disappear:
$ git reset –hard 2b504bee
The –hard possibility makes certain that we’re left with a clear working copy. Alternatively, we are able to use the –mixed possibility for a bit extra flexibility (and security): –mixed will protect the modifications that had been contained within the deleted commits as native modifications in our working copy.
The very first thing to learn about reflog is that it’s ordered chronologically. Due to this fact, it ought to come as no shock to see our current git reset mistake on the very prime. If we now need to undo this, we are able to merely return to the state earlier than, which can be protocoled right here, proper under!
We will now copy the commit hash of this protected state and create a brand new department primarily based on it:
$ git department happy-ending e5b19e4
After all, we might have additionally used git reset e5b19e4 to return to this state. Personally, nevertheless, I choose to create a brand new department: It comes with no downsides and permits me to examine whether or not this state is absolutely what I would like.
Restore a Single File From a Earlier State
Till now, once we’ve labored with dedicated states, we’ve all the time labored with the entire challenge. However what if we need to restore a single file, not the entire challenge? For instance, let’s say we’ve deleted a file, solely to search out out a lot later that we shouldn’t have. To get us out of this distress, we’ll have to resolve two issues:
discover the commit the place we deleted the file,
then (and solely then) restore it.
Let’s go search the commit historical past for our poor misplaced file:
$ git log — <filename>
The output of this lists all commits the place this file has been modified. And since log output is sorted chronologically, we shouldn’t must seek for lengthy — the commit through which we deleted the file will probably be topmost (as a result of after deleting it, the file in all probability wouldn’t present up in newer commits anymore).
With that commit’s hash and the title of our file, we’ve every thing we have to deliver it again from the lifeless:
$ git checkout <deletion commit hash>~1 — <filename>
Be aware that we’re utilizing ~1 to handle the commit earlier than the one the place we made the deletion. That is vital as a result of the commit the place the deletion occurred doesn’t comprise the file anymore, so we are able to’t use it to revive the file.
You Are Now (Virtually) Invincible
Throughout the course of this text, we’ve witnessed many disasters — however we’ve seen that nearly nothing is past restore in Git! As soon as you realize the fitting instructions, you may all the time discover a approach to save your neck.
However to actually turn into invincible (in Git, that’s), you’ll have to attend for the second a part of this sequence. We’ll take a look at some extra bushy issues, equivalent to the right way to get well deleted branches, the right way to transfer commits between branches, and the right way to mix a number of commits into one!
Within the meantime, if you wish to be taught extra about undoing errors with Git, I like to recommend the free “First Help Package for Git”, a sequence of brief movies about this very matter.
See you quickly partially two of this sequence! Subscribe to the Smashing E-newsletter to not miss that one. 😉


Subscribe to MarketingSolution.
Receive web development discounts & web design tutorials.
Now! Lets GROW Together!