
Register, handle, and join limitless reasonably priced domains immediately from WPMU DEV – making creating web sites for you and your shoppers simpler than ever!
Area registration is all finished proper from WPMU DEV’s Hub. It simply takes just a few clicks, with limitless choices for selecting top-level domains.
As you’ll see, area administration has been streamlined for internet builders on our Company Plan. Particularly when managing domains for a number of shoppers.
On this article, we cowl every thing you must find out about utilizing domains with WPMU DEV, together with:
Register a New Area
Add Area to Hosted Website
View Your Registered Domains
Verify Your Registrant Info
Area Administration in The Hub
Area Overview
Contact Info
Handle DNS
Filtering Domains
Linked Domains
Consumer Affiliation
In the event you’re a member, you may get began right here. Not a member but? Get began with a trial of our Company plan right now!
Now that you just’re able to go let’s…
Register a New Area
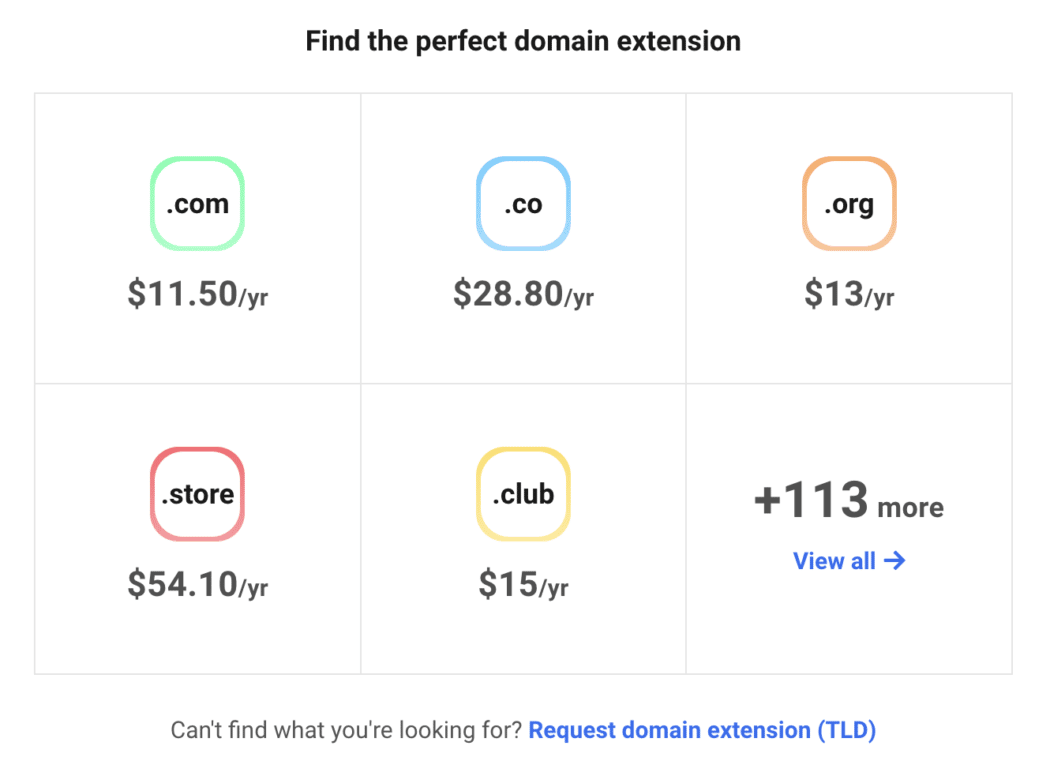
Registering a New Area is fast and easy. No matter area you’re in search of, we’ve got 120+ extensions — whether or not it’s .com, .org, .store — you identify it! They’re all reasonably priced. (And P.S. — We’ll be including one other 100-150 TLDs VERY quickly.)
It’s additionally vital to notice that domains are for Company Plan members ONLY. We are able to solely supply this type of service at wholesale pricing by making it unique (simply as we did with Quantum internet hosting).
We offer domains purely at price (buy and renewal), with no margin for us (besides to cowl transaction charges) in an effort to resell them to your shoppers with your personal markup and lower your expenses in your current supplier.
Each area kind has a unique price. You can even request a website extension if in case you have one other extension in thoughts!
So, now that the gist of our domains, right here’s…
The place to Start
Registering a brand new area begins from the Domains tab and Register New Area. Simply kind the area identify you wish to use.
No matter area fits your wants, kind it in.
When you kind within the area identify you like, an inventory of choices will seem with varied costs.
On this instance, I’d prefer to register the identify ‘awesomewebguy.’ As you’ll be able to see, many top-level area choices appeared (e.g. .org, .web, .on-line, and so forth.) underneath Matches.
The costs differ for all domains.
Need to see different choices? Click on Load Extra, and also you’ll get others.
There are many choices to select from.
WPMU DEV domains even have Recommendations for a brand new area primarily based in your search standards.
Extra choices which may be appropriate for a website.
After getting a website identify, click on Purchase Now. And that’s it!
You’ll be directed to a registration web page. From this web page, you select the Registration Phrases. This contains the Registration Interval, Renewal Worth, and Auto-Renew.
To start out, choose a Registration Interval. This may be anyplace from one to 10 years!
Select between 1-10 years in a click on.
Additionally, decide whether or not you’d prefer to auto-renew or not (you’ll be able to at all times change this later – as you’ll see).
Auto-renew is a hands-off method to make sure your area stays lively.
Simply to notice, Area Privateness is robotically included with each area.
Area Privateness is robotically included.
Subsequent, enter the Registrant data. From right here, you may as well affiliate the registrant data with a shopper from the dropdown (we’ll have extra on associating domains with a shopper later on this article).
That is details about you because the area proprietor. None of this data is publicly shared or on WHOIS.
Need to reserve it as default registration information? Simply examine the circle on the backside of this part — and also you’re all set!
As soon as your area is efficiently registered, you’ll be able to robotically add DNS information by clicking hook up with a hosted website. In the event you don’t wish to join your area to a hosted website – no biggie. Click on Skip for Now.
The registration was profitable!
That being stated, let’s say you wish to join area to a hosted website. Right here’s the way it’s finished…
Add Area to Hosted Website
Including a website to a hosted website with WPMU DEV doesn’t take a lot in any respect to arrange.
You are able to do this whereas creating your area or after the area is verified and accomplished. Simply choose from the dropdown what website you prefer to the area to be hosted on.
All your hosted domains will seem right here.
Add your area to a hosted website at any time. From the Domains tab, you’ll see by your website a Hyperlink Icon.
Click on on the hyperlink icon, after which Hook up with a Hosted Website. It should convey up a dropdown (similar to the picture above) the place you choose the positioning to host from.
Simply click on Hook up with a Hosted Website, and choose from the dropdown what website you’d like to make use of.
Choose any website you wish to add your area to!
Click on Save, and also you’ll see your area’s DNS standing. It might take a short while to finish. You possibly can recheck your standing by tapping Settings (the ellipsis).
It should take just a bit whereas to get the DNS and SSL standing accomplished.
Under this space, you’ll additionally see the DNS data for the positioning you’re utilizing along with your area. It contains the CNAME Report, A Report, and AAAA Report.
Notice: when you use the Join Area characteristic, you don’t should manually add any DNS file.
All the data is clearly displayed for fast reference.
Able to go reside? Now we have an superior information that takes you thru do it step-by-step.
View Your Registered Domains
When you register a brand new area, will probably be situated underneath Registered Domains. In the event you view it quickly after registering a website, you’ll see that its Registrant Standing possibly be ‘verifying.’
The area identify, standing, registrant, registrant standing, and expiration date are displayed.
A message will seem indicating that as nicely.
Occasions differ, relying on a number of components.
So, how do you go about verifying the registrant standing?
Verify Your Registrant Info
When you register your area, you’ll obtain an e-mail. That is to make sure that you’re who you say you’re concerning your area possession and to finish your registration.
No matter e-mail deal with you embrace in your Registrant Info is the place this e-mail can be despatched. As soon as opened, that is what it says:
Your specific area can be displayed within the physique of the e-mail.
It accommodates two hyperlinks: one is to overview ICANN’s Coverage, and the opposite is to proceed on with verification.
When you confirm your data — you’re all set!
When verified, you’ll get notified instantly.
As soon as your contact information is verified, you’ll be notified.
Please take into account that when you don’t confirm inside 15 days, the area can be suspended till you confirm it. So, be sure to finish this vital step.
Area Administration in The Hub
All your domains are in a single place in The Hub underneath Domains. That is your one-stop space the place you’ll be able to new, replace, handle, and extra.
Each area you’ve can be proven right here, whether or not it’s one or hundreds of domains.
By clicking on the ellipsis by particular person domains, you immediately have entry to key options, akin to:
Handle Area
Renew Area
Replace Contact Info
Replace Nameservers
Replace DNS
Need to handle a website? It’s shortly and simply accessible.
To make it simpler for you and your shoppers, you’ll be able to activate Auto Renew in a single click on.
The renewal worth can be indicated.
Click on on the identify or standing of the area to get to the Area Overview web page. From the Overview, you’ll be able to view a ton of knowledge. Every part from Area Standing, Registration Date, GDPR status- – and extra!
Make sure you take a look at our documentation for an in-depth look.
Area Overview
Get a 360-degree view from the Area Overview.
That is an overlook the place you’ll be able to see the area standing (lively or inactive), expiration date, whether or not auto-renew is activated – and extra!
The Area Overview provides you a complete spectrum of details about the area.
Carry out duties from this space as nicely, akin to renewing a website, activating auto-renew, and implementing switch lock.
Discover out extra in our documentation.
Contact Info
All of the contact data concerning the area Proprietor, Admin, Billing, and Tech are within the Contact Info tab. You possibly can at all times regulate, add, and delete data.
Have to make any modifications? Simply click on ‘Edit Information’ – and alter as wanted.
Handle DNS
All the present DNS information are situated within the Handle DNS space. From you, you’ll be able to add a Subdomain, e-mail, or customized DNS information.
All of the DNS data is in a single spot.
Be taught much more in our information on add a Subdomain.
Filtering Domains
Filtering domains is a strategy to shortly and simply discover particular domains, set up the listing of domains you wish to view, discover who’s registered for domains, and extra!
The Filter button will get you began.
As soon as clicking Filter, you’ve choices for:
Area Standing
Registrant
Registrant Standing
Auto Renew
Hosted Website Standing
Click on Apply to search for a particular area.
Every possibility has completely different varibles of their dropdowns. For instance, when you select Area Standing, the dropdown contains Lively, Suspended, and Expired.
Filter domains by standing.
Linked Domains
View all your Linked Domains in a single place. This part shows all of your related domains and their standing (e.g. propagated appropriately or pending).
On this instance, there are two propagated domains and one pending propagation.
You possibly can Handle DNS, Recheck DNS, and Delete on the ellipsis.
Need to handle DNS? Simply click on the ellipsis.
In the event you click on Handle DNS, you’ll be able to add the Nameservers and examine Information (e.g. AAAA and A). It additionally shows the TTL for every file.
DNS administration is all accessible in a single spot!
It additionally signifies the place it directs to by every kind of DNS file.
Consumer Affiliation
The Consumer Affiliation characteristic allows you to affiliate a website with a shopper out of your Shoppers & Billing portal. Moreover, it lets you simply change or take away the shopper that you will have related to the area while you registered it.
By associating a shopper with a website, it robotically populates the Proprietor Contact Info of that area with the shopper’s data, making it fast and fewer time-consuming to enter. Additionally, this may be edited at any time.
The Consumer Assocationa part is situated underneath any particular area. Or, as talked about earlier, you’ll be able to choose this from the dropdown when creating a brand new area.
Click on Add Consumer to get began.
Get began with a click on.
From there, there’s a dropdown the place you’ll select the shopper to affiliate with the area.
Scroll down and choose the shopper you’d like this area to be related to.
That’s it! Your shopper is now related to this area.
You possibly can take away shoppers at any time, and likewise, if in case you have granted the shopper a Consumer Function that features View Domains, they’ll just do that and likewise change data — if allowed. For extra data, remember to learn our documentation.
Area Administration Made Easy
You possibly can see how easy and simple it’s to arrange, implement, and handle domains with WPMU DEV and The Hub! With a brand new area, you could be up and operating in just some clicks.
Plus, coming quickly in 2023 — you’ll primarily be capable to create your personal GoDaddy! Extra on that to come back…
So, what are you ready for? To get began, when you haven’t tried our Company plan, begin your 7 day no obligation free trial right now. And if you’re already an Company member, start registering domains instantly!


Subscribe to MarketingSolution.
Receive web development discounts & web design tutorials.
Now! Lets GROW Together!