
Have you ever ever needed to create a customized widget in your WordPress web site? Whereas WordPress does embody a built-in textual content widget, which you should use to show HTML together with embedded CSS and JavaScript, if you wish to do something greater than that the textual content widget simply gained’t reduce it.
What if you wish to seize a little bit of content material out of your web site database and show it in a widget? The answer is to code up a customized sidebar widget. Whereas which will sound like a frightening job, so long as you’ve primary PHP abilities it’s inside your attain.
So comply with together with this tutorial and also you’ll learn to create two completely different widgets:
A easy widget that shows the widget title, website title, and website tagline.
A barely extra complicated widget that shows an inventory of all classes sorted alphabetically and cut up into two columns.
Able to be taught the fundamentals of customized WordPress widget creation? Let’s get to it:
Widget Constructing Fundamentals
WordPress Widgets API
Instance #1: Show the Widget Title, Web site Title, and Tagline
Instance #2: Shows Classes in Two Columns
Creating Your Personal Widget
Widget Constructing Fundamentals
You’ll want three issues in place as a way to comply with together with this tutorial:
A WordPress improvement atmosphere
Fundamental PHP coding abilities
Fundamental WordPress improvement expertise
All it takes is a single errant comma or lacking curly brace to crash a WordPress web site, and for those who’re comparatively new to programming, your website may very well be down for a number of minutes or longer whilst you attempt to find the offending code. For that cause, you must completely get your widget working utilizing an area improvement atmosphere earlier than you attempt utilizing it on a dwell web site.
We’ve written about a lot of native improvement environments up to now. Personally, I exploit XAMPP however any localhost server will do. Decide one and get it working.
Should you’ve by no means written a line of PHP or coded up a primary WordPress plugin, then this tutorial could also be a bit out of your attain. Nevertheless, the excellent news is that you may be taught every part you could know both informally by working via our collection on WordPress Improvement for Learners, or formally by enrolling an upcoming course at the Academy.
Should you meet these three primary necessities, you’re prepared to begin slinging code. Let’s get to it.
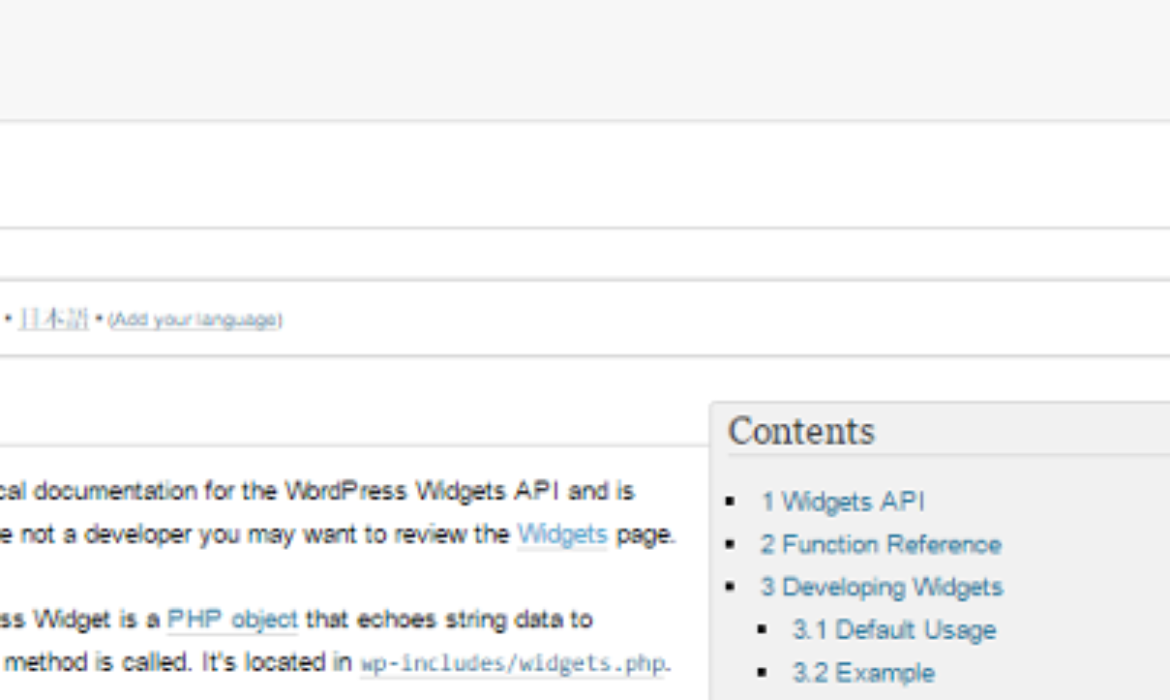
WordPress Widgets API
You’ll discover extra details about the Widget API within the WordPress Codex.
You create a brand new WordPress widget by including code to one in all two locations:
A customized plugin, which you must use if you wish to use the widget with multiple theme or on multiple web site.
The features.php file of the lively theme — which ought to be both a baby theme or a totally customized theme.
Only for the sake of instance, you’ll find the finished code for the straightforward sidebar widget described on this tutorial obtainable at GitHub. Should you aren’t positive the place to jot down your code, or simply wish to see all the code without delay, obtain a replica of that plugin.
WordPress widgets are created with a little bit of object-oriented programming. The WP_Widget class is prolonged to create every widget. The WP_Widget class contains shut to twenty completely different strategies. Nevertheless, for primary widgets, you actually solely want to make use of 4 of them:
__construct(): registers primary widget data.
widget(): comprises the widget output — what you really see in your website entrance finish when the widget is added to a widget space.
kind(): defines the widget settings displayed within the WordPress admin space.
replace(): updates widget settings when new settings are saved within the WordPress admin space.
Along with these 4 strategies, the add_action perform is used to tie the customized widget perform to the widgets_init hook.
Instance #1: Show the Widget Title, Web site Title, and Tagline
The very first thing to do is to increase the WP_Widget class like this:
On this case, the title of the brand new widget perform is jpen_Example_Widget. Observe that jpen is just a prefix I add to all customized features to keep away from conflicts with any features in different plugins, themes, or the WordPress core. You should utilize any title that’s acceptable in your widget, and add a prefix if you wish to comply with greatest practices.
We’ll write features utilizing the 4 strategies talked about within the listing above and nest all 4 inside our widget perform. Then, within the final step, we’ll write a perform to register the widget.
Let’s begin the tactic writing course of with the __construct() methodology.
WP_Widget::__construct()
The __construct() methodology is used to assign an id, title, class title, and outline to the widget. Right here’s how the constructor perform appears to create our first instance widget:
To know this perform, begin with the road that begins with father or mother::__construct(). What’s occurring is that this line creates a brand new widget with the id of ‘example-widget’, the title ‘Instance Widget’, and two widget choices: a category title and a brief description.
All of this code goes inside jpen_Example_Widget and is used to register the widget with WordPress after which show the widget title and outline within the admin space.
WP_Widget::widget()
The subsequent step is to make use of the widget() methodology to outline the widget output that will likely be displayed on the location entrance finish.
What widget() does is include the code that generates the precise content material displayed by your widget. The contents of widget() may very well be absolutely anything however typically will embody some PHP. In any other case, you’ll simply use the textual content widget constructed into WordPress.
In our case, we’re going to offer customers the choice to show a customized widget title. So we’ll must seize that title after which use get_bloginfo() to show the weblog title and tagline. Right here’s the code we’ll use to do this:
There a few issues occurring in that perform that you just’ll wish to take the time to grasp:
$args[]: this variable masses an array of arguments which can be utilized when constructing widget output. The values contained in $args are set by the lively theme when the sidebar area is registered.
$occasion[]: this variable masses values related to the present occasion of the widget. Should you added a widget to the sidebar twice, every $occasion would maintain the values particular to every occasion of the widget.
widget_title filter: returns the title of the present widget occasion.
get_bloginfo(): a perform that can be utilized to return all types of meta knowledge a couple of WordPress web site together with the location title and tagline.
After defining just a few variables utilizing the data within the listing above, the code then goes on to provide the precise output which consists of knowledge from $args, the title, and the location title and tagline.
Observe that just about each widget ought to embody the ‘before_widget’, ‘after_widget’, ‘before_title’, and ‘after_title’ arguments. They’re mandatory to make sure every widget is nested contained in the theme-specific HTML tags.
The whole widget() methodology ought to be nested inside jpen_Example_Widget.
WP_Widget::kind()
The kind() methodology is used so as to add setting fields to the widget which will likely be displayed within the WordPress admin space.
Widgets that embody a variety of choices will likely be fairly complicated on this division. Nevertheless, within the case of our instance widget, all we wish to do is enable customers to assign the widget a customized title. So issues are fairly easy.
This perform returns the present values of this specific occasion of the widget by calling the $occasion parameter. We then verify the present occasion data to see if the title is empty. If it isn’t, we show the present title.
Subsequent, the label and enter components nested inside paragraph tags create a labeled enter subject for the consumer so as to add a brand new title.
With this little bit of code added to jpen_Example_Widget, widget settings will appear like this:
WP_Widget::replace()
The subsequent step is to replace the data within the WordPress database utilizing the replace() methodology.
This methodology takes two parameters: $new_instance and $old_instance. The primary comprises the values added to the widget settings kind. The second comprises the prevailing settings — if any exist.
The replace() methodology ought to validate the brand new settings as acceptable after which assign them to the $occasion variable and return that up to date variable. If that sounds a bit complicated, the next instance ought to make clear issues.
Within the case of our instance widget, all we’re doing is updating the title. So all we have to do is:
Seize the title from the brand new occasion,
Strip away any HTML or PHP tags which will have added to the widget title,
Assign that title to the occasion, and
Return the up to date occasion.
Register the Widget
The ultimate step within the course of is to register the widget utilizing the add_action perform and the widget_init hook. Right here’s the way to do it:
First, we create a perform to register the widget and use the widget object title to determine it. Subsequent, we tie the registration perform to WordPress utilizing the widgets_init hook and the title of our registration perform.
This little bit of code is added exterior of jpen_Example_Widget. When it’s referred to as it is going to pull up the widget with the suitable title, jpen_Example_Widget on this case, and run all the code contained within the widget.
With this remaining little bit of code in place we are able to add our widget to a sidebar, configure it to our liking, and show our website title and tagline within the sidebar, like this:
Instance #2: Shows Classes in Two Columns
A short while again I wrote a tutorial explaining how one can flip any HTML5 template right into a WordPress theme. Nevertheless, what I didn’t do in that tutorial is recreate any of the sidebar widgets included within the template. So our second instance widget would be the class listing sidebar widget from the Weblog Submit HTML5 template by Begin Bootstrap.
Right here’s how the sidebar widget appears within the authentic HTML5 template:
Recreating this widget requires a bit extra code than our easy instance widget, however in actuality it isn’t very complicated. As a matter of truth, the _construct(), kind(), and replace() features are principally unchanged. The one actual distinction between this widget and our earlier instance is that the widget() output methodology contains fairly a bit extra code.
The explanation for that is that to create the widget content material we have to generate an inventory of all of the classes, type the listing into alphabetical order, after which organize the classes into two columns. Whereas there are a selection of the way this may very well be completed, right here’s one solution to get the job executed.
For starters, I created the widget() perform:
Subsequent, I created just a few variables:
The title and class variables are fairly self-explanatory. They maintain the widget title and an inventory of all classes.
The $cat_count variable will likely be used to maintain observe of the full variety of classes in order that we are able to type them into two lists. The 2 column variables, $cat_col_one and $cat_col_two will likely be used to divide the classes into two columns.
Subsequent comes the perform that iterates via all of the classes and splits them into two columns.
For every class, the $cat_count variable iterates and a $category_link is created. Then, based mostly on the present $cat_count — whether or not it’s even or odd — the $category_variable is added both to the column one or column two variable.
As well as, this code additionally nests every class into an inventory merchandise with a category of “list-unstyled” to match the lessons and HTML used within the authentic template.
Lastly, we have to really print out $cat_col_one and $cat_col_two to render the listing of classes:
That code iterates via every of the class column variables and prints out every listing of classes right into a div. The lessons and HTML construction assigned to the widget mirror the lessons and construction included within the authentic template to make sure that the styling included within the authentic template CSS assets is correctly utilized to the brand new widget.
Right here’s how the sidebar widget regarded upon completion. Should you have a look again on the authentic model within the template within the picture above, you’ll see that it’s an ideal match!
Should you’d wish to see the total code that creates this sidebar widget, search for the jpen_Category_List_Widget occasion of the WP_Widget class within the features.php file of the Easy Weblog Theme at GitHub.
Creating Your Personal Widget
Making a customized sidebar widget includes working with the slightly complicated WP_Widget class. Whereas it could appear a bit daunting, the excellent news is that you may boil down the method to 5 steps:
Use __construct() to outline the essential widget data.
Use widget() to outline the widget output.
Use kind() to create the admin settings menu.
Use replace() to replace widget settings.
Use add_action() to tie the widget object to the right hook.
Whereas making a customized widget could also be a bit complicated, there’s a comparatively slim physique of information you could grasp to create highly effective customized widgets. Wrap your head round these 5 features and also you’ll be capable of flip nearly any concept you may dream up right into a WordPress widget.


Subscribe to MarketingSolution.
Receive web development discounts & web design tutorials.
Now! Lets GROW Together!