
With The Hub 2.0, you may give limitless customers a number of roles — even when they aren’t WPMU DEV members! All of this may be simply arrange in a matter of minutes, permitting you the flexibleness to present customers entry to as a lot or as little as you’d like in your WordPress website.
Plus, With The Hub Shopper, you may create your Hub in your purchasers and collaborators, utilizing your branding.
Oh, and did we point out it’s all free in your customers and also you’re capable of be arrange in minutes?
On this article, we’ll be going over find out how to:
Simply Set Up Customers
Set Up Roles in Only a Few Clicks
Add Person Customization Settings
Acquire Fast Entry to Websites
Set Up the Hub Shopper
Embrace Customers & Roles & The Hub Shopper
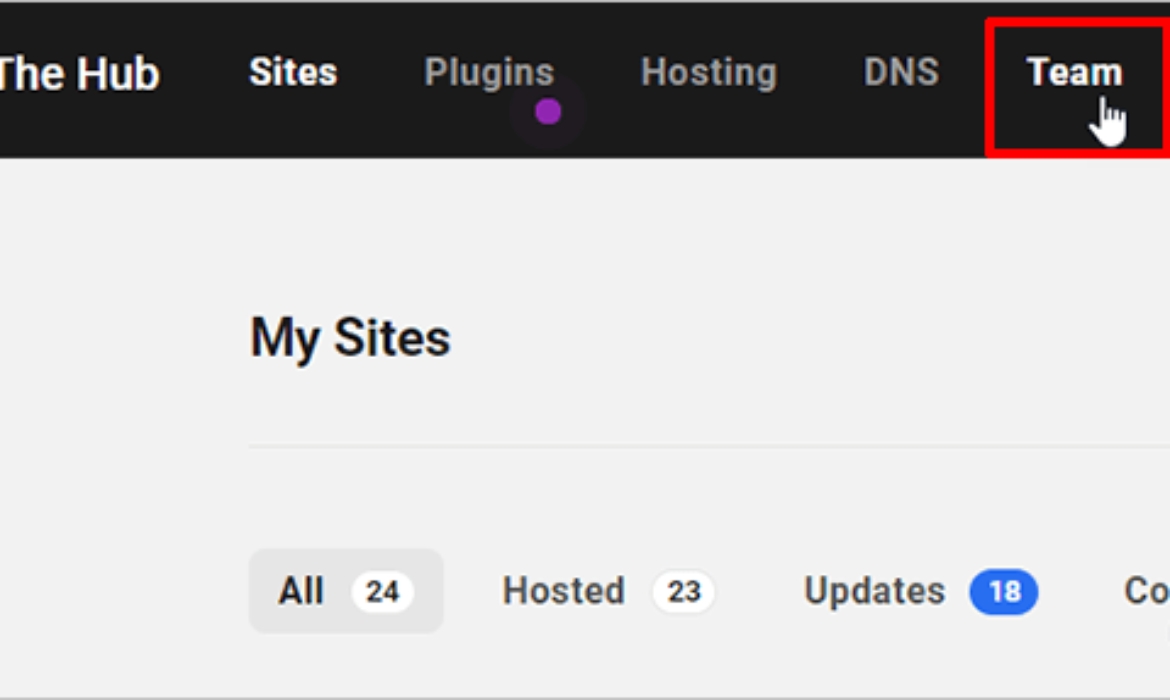
This put up’s options are completed from the Crew tab in The Hub dashboard, aside from The Hub Shopper, accessed by the Hub Shopper Plugin (which I’ll present you find out how to activate).
We’ll arrange customers and roles within the Crew tab.
1. Simply Set Up Customers
You’ll be able to create new customers in The Hub, permitting them to entry particular areas in your WordPress website. Creating new customers in The Hub is the best method to permit entry to customers as a result of the whole lot is completed from one place.
Click on the Crew Members tab and Add First Crew Member to get began.
Creating new crew members is ideal for collaborations with different customers.
From right here, you’ll enter their e-mail and title. Then, you may choose websites that they’ll have entry to (all of the websites that you’ve got with WPMU DEV are proven within the dropdown), and the consumer position to view, edit, or customized position (which may be modified and altered at any time).
Clicking on Invite will notify the brand new consumer with a affirmation e-mail.
As soon as that consumer will get the e-mail and hits Verify, the consumer will likely be redirected to WPMU DEV to arrange a free account with their e-mail, title, and password.
They don’t even should be a WPMU DEV member. And once more, there’s no price for the customers. The one price could be if the brand new consumer needs to improve to a WPMU DEV membership of their very own.
There are solely three fields to fill out for a brand new consumer to get arrange.
After they click on Be part of – that’s it!
A brand new consumer is added and may have entry to the websites and roles decided by the admin when invited.
From the admin standpoint, they’ll then see their new consumer within the Crew Members space. If the invited consumer accepts, it should present Energetic within the standing. If the consumer hasn’t confirmed but, it should present Pending.
All of your customers are proven in a single spot in The Hub.
It additionally shows the consumer’s title, e-mail, position, websites that the consumer has entry to, and standing.
Add as many customers as you’d like by clicking on the New Crew Member button.
Organising a consumer may be finished with the faucet of a button.
As you may see, creating and organizing customers takes no time in any respect.
2. Setting Up Roles in Only a Few Clicks
Whenever you ship an individual an invitation to be a part of the crew, you additionally add consumer roles. Roles are what determines which entry capabilities customers have.
The predetermined roles which are initially accessible are:
View & Edit
View Solely
Customized
You’ll be able to choose between these two or create your personal below every class (e.g. WP Core).
Create your personal customized position below Roles by clicking on Create New Position.
All of the accessible roles will likely be displayed right here.
Identify the brand new position something you’d like and customise accordingly. Let’s try find out how to customise it by…
3. Including Person Customization Settings
Customizing entry for a task may be decided by clicking on all of the accessible choices (e.g. websites, safety settings, search engine optimization, and so forth). Additionally, select to have View & Edit or View Solely for websites.
You determine what to incorporate on this new position.
The Customized choice offers you detailed job descriptions about particular roles that every choice can permit.
For instance, listed here are varied duties you may embody for Plugins on this new position. Click on on the choices you need the consumer to have the aptitude to handle.
Enable this position to uninstall plugins, activate plugins, and extra.
Upon getting the brand new duties decided, click on Save, and also you’re all set.
For extra detailed info on every job description, you may see all of them listed right here.
With roles decided, the power to assign them is multi function place. Every part below Position reveals what that consumer has entry to.
As you may see, the present position is View & Edit – All.
Need to change roles? Customise what websites they’ve entry to and change roles accordingly by clicking on the roles and what websites you need the consumer to have entry to.
As soon as up to date, the consumer may have the roles that you just utilized to them.
And like all issues in The Hub, you may edit something everytime you need.
4. Acquire Fast Entry to Websites
You will have immediate entry to view your websites and what number of customers every website has within the Websites tab. The Websites tab makes it fast and straightforward to view and edit roles for particular websites.
All of the web sites present up right here with the variety of customers displayed subsequent to the positioning’s title.
The Websites tab permits you to view your websites and variety of customers.
Hover over the quantity to carry up all of the customers for that website.
For this website, there are two customers.
Click on on the plus signal by the positioning’s title to handle the consumer’s entry.
Clicking the plus website will lead you to edit a consumer’s entry.
This reveals who has entry and whether or not they’re lively or not. Uncheck the consumer to take away entry and add a brand new consumer from right here, too.
Need to take away entry for somebody? Click on on the inexperienced checkmark and that consumer received’t have the ability to entry it any longer.
You may also resend an invite to a pending consumer from this part.
5. Set Up The Hub Shopper
The Hub Shopper has arrived so as to personalize The Hub the best way you need it.
With The Hub Shopper, you may present entry to purchasers, collaborators, and customers utilizing your personalised white label Hub. It’s your personal Hub, the best way you and your group need it, personalized to your perfection.
Plus, you need to use any host (together with our personal managed internet hosting), promote our providers, and run at your area.
To make use of The Hub Shopper plugin, you need to be linked with The Hub to entry its API. You’ll be able to see how to do this right here.
When linked to The Hub, the Hub Shopper plugin may be downloaded from the White Label web page after which clicking on Discover out extra about The Hub Shopper.
One-click on White Label, and also you’re there.
As soon as downloaded and put in, you’ll get a welcome message.
Welcome to the Hub Shopper!
The welcome message can stroll you thru the whole lot on getting began by, you guessed it – clicking Get Began.
Start by altering your title to interchange WPMU DEV by clicking on the title and coming into no matter you’d like.
We’ll simply name this one Dev Man.
Change the WPMU DEV emblem with your personal by importing a picture within the Your Brand part (e.g. Dev Man).
A cartoon Dev Man will do for this instance.
You’ll be able to change the colours for the Navigation background, Navigation textual content, and Navigation textual content chosen & hover within the Shade scheme space. Do that by visually choosing the colours or by coloration quantity (e.g. #FFFFFF for white).
Decide and select applicable colours that suit your branding.
Head over to the Configuration to pick a pre-made menu to seem after Websites within the Navigation space.
Configure the menu the way you’d like.
And for the shopper web page, you may arrange any web page you’d like to interchange your shopper hub. All of the pages you could have in your WordPress website will seem within the dropdown menu.
Select a particular web page to interchange ‘hub.’
And now, when your customers log in, they’ll be greeted along with your branding, colours, and configurations.
What the consumer login space now appears like.
From the Configuration space, you’re additionally capable of:
Handle Customers and Roles
Add Phrases of Service URL
Embrace a Privateness Coverage URL
Add Web site House URL
Incorporate a Assist Button
Handle customers and roles — plus extra!
You may also combine a Stay Chat Widget, the place you may select from Livechat, tawk.to, and Hubspot.
Assist your customers shortly and effectively with stay chat.
That’s how you could have your personal fully white-labeled Hub Shopper group (yippee!).
So, let’s arrange…
6. Customers & Roles & The Hub Shopper
Your colleagues, customers, and purchasers can now log in and use your very personal branded WordPress website and customised Hub with The Hub Shopper. The Hub Shopper consists of controlling all consumer entry ranges and roles.
It must be activated and working to do that, so be sure you learn via the part on this article on organising The Hub Shopper first.
As soon as The Hub Shopper is prepared, including, and organising customers & roles is all accessible from the Crew tab in The Hub.
The Crew tab can also be the place you view your crew.
You’ll be able to simply add a brand new shopper or consumer by clicking the New Crew Member field.
Add as many new customers as you’d like.
As soon as clicking on that, you’ll fill out the brand new consumer’s e-mail deal with, title, grant website entry, and choose the consumer’s position. Plus, you may add notes in regards to the new member, if you happen to’d like.
Three easy steps will get a brand new consumer arrange.
The consumer will get an e-mail invitation to hitch. As soon as confirmed, they’ll seem in your Crew Members admin as lively.
When you could have your customers within the system, you may handle their entry to web sites. All you do is click on on the person, and a pop-up will seem the place you may choose Entry to Chosen Web sites or Entry All Web sites.
Should you select Entry to Chosen Web sites, you may take away or add websites that the person can entry in one-click.
The blue checkmark means the consumer can entry it.
Create a brand new position within the Roles tab. Plus, see what Person Roles are already arrange. (For extra on New Roles, please see the Add Person Customization Settings).
Have a brand new position you wish to create? Get one arrange in a minute or much less.
To shortly view your web sites, view customers for every website, and add or take away customers out of your website, go to Websites.
Click on on a quantity to view the customers for a specific website.
With the Customers & Roles within the Hub Shopper, you’ll have your purchasers up-and-running in your white-labeled Hub in minutes. All accessible proper from the dashboard in your WordPress website.
You’ll be able to add an infinite quantity of collaborators and customers with entry to WPMU DEV merchandise, plugins, and assist.
There may be No Sub for The Hub
As you may see, including customers & roles and creating your Hub for you and your purchasers is doable in just some clicks. There’s simply no different substitute on the market for an all-in-one CMS on the subject of managing your WordPress websites.
And if you happen to suppose that is good, simply wait. Coming quickly, we’re together with automated website creation & shopper billing, making your white label Hub your personal SaaS enterprise!
To maintain tabs on what’s coming, be sure you observe our Roadmap. And for extra, try The Hub’s documentation and keep tuned to our weblog.
Editor’s Notice: This put up has been up to date for accuracy and relevancy. [Originally Published: September 2020 / Revised: August 2021]


Subscribe to MarketingSolution.
Receive web development discounts & web design tutorials.
Now! Lets GROW Together!