
Let’s Encrypt is a trusted, open supply certificates authority that provides free SSL certificates for as many domains as you need – and now there are simple methods to combine it with cPanel for one-click, automated certificates set up that takes mere seconds to finish.
Putting in an SSL certificates with Let’s Encrypt is already quick, however in the event you personal a internet hosting enterprise, you’re a developer who manages shoppers’ websites, otherwise you need a fair quicker resolution, then there are three Let’s Encrypt plugins you may combine into cPanel, together with an official plugin by cPanel.
On this publish, I’ll cowl how you can set up every of the three Let’s Encrypt plugins for cPanel and the way you should utilize them to put in and renew free certificates in a couple of seconds.
Server Necessities
1. Let’s Encrypt for cPanel Set up
Putting in the cPanel Plugin
Putting in a Certificates
2. Free Let’s Encrypt cPanel GitHub Plugin
Putting in the cPanel Plugin
Putting in a Certificates
3. Free Official cPanel Plugin
Putting in the cPanel Plugin
Putting in a Certificates
Server Necessities
To run any of the three plugins for cPanel there are a couple of conditions:
You want cPanel put in with a legitimate license
Root and SSH entry to your server
The fundamental necessities for utilizing Let’s Encrypt:
Unix-type OSes that embody Python 2.6 or 2.7
For the official cPanel plugin:
cPanel and WHM variations 58.0.17 or above
For the plugin discovered on GitHub, you want:
A Centos 5, six or seven server
A static IP tackle when you have Centos 5
For the Let’s Encrypt for cPanel plugin, you want
i386 or x86_64 CentOS 6 or 7 (5 shouldn’t be supported)
WHM 11.52 or increased (CloudLinux and LSWS appropriate)
Distant entry key has been generated (/root/.accesshash)
Should you don’t have a distant entry key generated however need to use the Let’s Encrypt for cPanel plugin, log into WHM and go to Clusters > Distant Entry Key and click on the Generate New Key button.
It might be necessary to notice that the Let’s Encrypt for cPanel plugin is the one premium choice on the record. It’s $30 and there’s a free trial out there. If you want to strive it out earlier than buying a license, you may set up it with a trial license mechanically.
Should you resolve to buy a premium license in any case, you may exchange the trial licensee in your server with the premium license file. The main points on this may be discovered on the Let’s Encrypt for cPanel Set up web page.
After you have all of the server necessities for the plugin you need to use, you may go forward and set up it. Be at liberty to skip forward to the one you need to set up:
Let’s Encrypt for cPanel Set up
Free Let’s Encrypt cPanel GitHub Plugin
Free Official cPanel Plugin
1. Let’s Encrypt for cPanel Set up
Putting in the cPanel Plugin
Log into your SSH consumer at root stage, then add the Let’s Encrypt repository with the next command:
Subsequent, set up the plugin for cPanel with line beneath and yum:
The set up course of normally takes a couple of minute. If all goes nicely and the set up was profitable, a check ought to run mechanically.
If it renders related messages as the instance beneath, you’re good to go:
You’ll be able to log in to your cPanel account and set up your first SSL certificates.
Putting in a Certificates
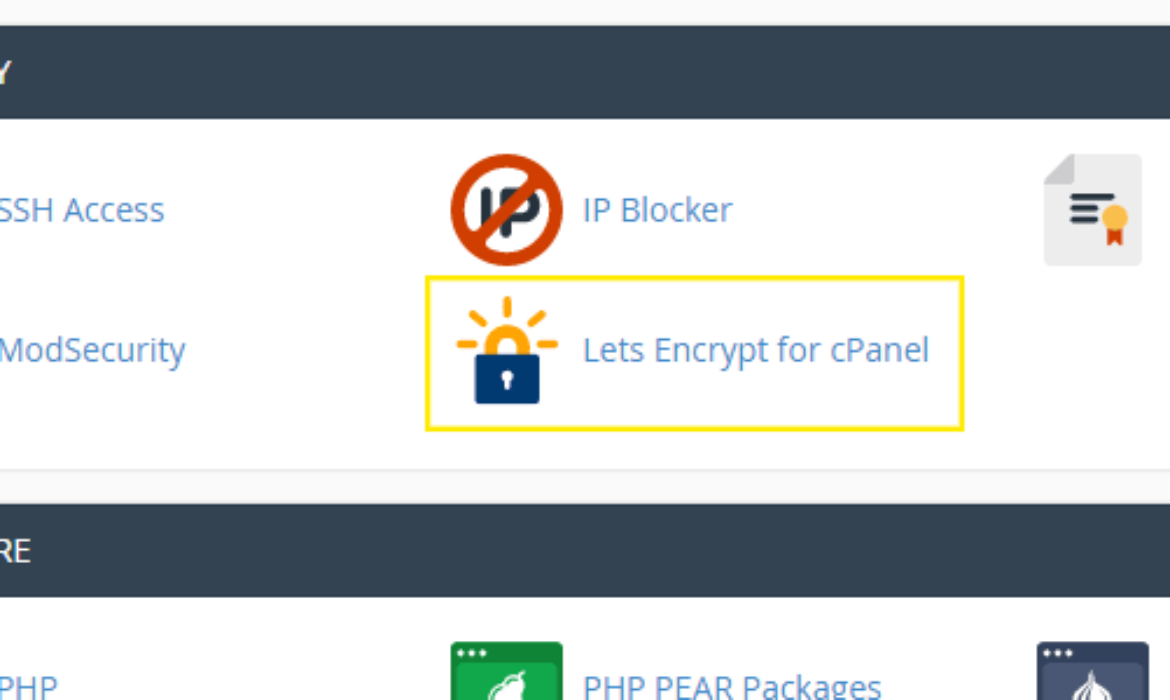
When you’re logged into cPanel, you must see a Let’s Encrypt for cPanel button below Safety. Click on on it to entry your energetic domains record to put in a certificates.
Click on the Let’s Encrypt for cPanel button to get began putting in some SSL certificates.
Towards the underside of the web page, you must see the Difficulty a brand new certificates part. It is best to see an inventory of all of your energetic domains together with variations of them with and with no www. prefix.
You’ll be able to test a number of packing containers to put in a couple of certificates at a time or click on the Difficulty Single hyperlink beside the area the place you need your certificates put in.
Should you test a number of packing containers, click on one of many Difficulty A number of hyperlinks on the high or backside of the record.
You’ll be able to set up a number of certificates at a time or only one.
Subsequent, click on the checkboxes subsequent to the domains you don’t need to embody in the event you chosen a number of ones on the record on the earlier web page. Additionally choose which area you want to be the first one customers are going to go to.
Should you use one of many domains to entry your e-mail, additionally test the field labeled Set up mail SMTPS/POP3S/IMAPS SSL certificates. Lastly, click on Difficulty to put in your certificates.
Choose which domains to incorporate and set up by clicking the Difficulty button.
The set up course of takes about 10 seconds, however can take as much as 45 seconds relying on what number of certificates you will have chosen to difficulty. When the method has accomplished, you must see a message letting you realize the set up was successful.
If one thing went improper, strive once more. It normally works the second time round.
Whenever you return to the principle web page, you must see your domains with certificates put in listed on the high of the web page. You’ll be able to click on the Take away hyperlinks to delete certificates one-by-one, or the Reinstall hyperlink to resume the certificates earlier than the expiry date.
2. Free Let’s Encrypt cPanel GitHub Plugin
As with all plugin put in from GitHub, it’s necessary that you simply’re conscious of the inherent dangers. Since common upkeep and safety isn’t assured throughout all plugins discovered on GitHub, it’s good to make sure you belief the developer.
It’s a very good observe to take a look at the developer of even really helpful plugins from GitHub irrespective of who recommends them. For particulars concerning the developer of this plugin, try the Let’s Encrypt cPanel plugin repository on GitHub.
For extra particulars on the precautions you must think about earlier than putting in plugins from GitHub, try certainly one of our different posts The way to Discover and Set up A whole lot of Free WordPress Plugins from GitHub.
Putting in the cPanel Plugin
Log into the foundation of your server with SSH and run this command to obtain the plugin bundle to your server:
Subsequent, go to the listing that was created for the plugin with the next line:
Lastly, set up the plugin by coming into the command beneath:
When you obtain a message that claims Efficiently put in letsencrypt supervisor you’re all set to put in your first SSL certificates.
Putting in a Certificates
When you’re logged into cPanel go to Safety and click on the Let’s Encrypt hyperlink. You’re not going to see an icon accompanied with the hyperlink. We’re not being fancy right here.
On the administration web page, click on the New SSL Certificates button.
Handle and set up a brand new SSL certificates in a single click on.
Subsequent, choose certainly one of your domains that you’ve registered to your cPanel account. After you have made your alternative, click on the Submit button to start out putting in your certificates.
Select your area title and click on the Submit button to put in your certificates.
After about 10 seconds, you need to be re-directed to the principle web page with a message letting you realize the set up was successful. You also needs to see your area listed on the web page as nicely.
As soon as your certificates is put in you must see a couple of particulars listed on the web page for it.
Subsequent to your area on the record, you must see {that a} certificates to your area was put in mechanically for each your most important area and with a www. prefix. You also needs to see the date your certificates expires in addition to the variety of days you will have left till the certificates expires.
3. Free Official cPanel Plugin
Whereas this plugin must be put in to see it if you log into cPanel, there’s an opportunity it might come pre-installed in cPanel and WHM model 60. It’s not for sure but solely as a result of additional testing must be accomplished by the parents behind cPanel earlier than they’ll push out the change for everybody.
Putting in the cPanel Plugin
For now, you may set up the official Let’s Encrypt plugin for cPanel with one command:
The ultimate set up steps should be accomplished in WHM so go forward and log in as the foundation person. Go to SSL/TLS > Handle AutoSSL and select the Let’s Encrypt choice below Select an AutoSSL supplier.
Subsequent, test the packing containers for I agree to those phrases of service and Create a brand new registration with the supplier. You may as well click on the hyperlink to evaluate the phrases of service.
Fill out the shape to complete putting in the plugin.
When you will have made your choices, click on Save. It is best to see a small pop-over seem in a couple of seconds that permits you to know the set up has accomplished efficiently.
Putting in a Certificates
It’s necessary to notice that this characteristic solely works if AutoSSL is enabled for the customers the place you need the SSL certificates put in. To allow this selection for customers, click on the Handle Customers tab, then choose the Allow radio button subsequent to the person account names the place you need to set up certificates.
Click on the Test button to allow AutoSSL. When the method has accomplished, you may return to the principle Suppliers tab and click on the Run AutoSSL For All Customers button.
Click on the button to put in certificates for all cPanel person accounts.
The method ought to solely take a couple of seconds, however can take longer when you have many cPanel accounts and domains. As soon as the method is full, all domains registed to all of the cPanel accounts ought to have an SSL certificates put in.
Additionally, you gained’t have to fret about renewing the certificates since that’s all setup for you mechanically.
Wrapping Up
That’s a wrap! Three choices you should utilize to put in SSL certificates utilizing your cPanel account or WHM.
Any of those choices are typically nice and quick however be aware that some plugins will be trusted greater than others so make sure you train the suitable quantity of warning earlier than putting in any plugin for cPanel.
Should you run to any troubles, really feel completely free to contact our skilled help crew, evening or day. We’re right here for you. If you have already got an energetic WMU DEV membership, premium help is all set and prepared for you so you may open a help ticket, hop on reside chat or try the help discussion board for any points you expertise.


Subscribe to MarketingSolution.
Receive web development discounts & web design tutorials.
Now! Lets GROW Together!