
Do you need to replace URLs after transferring your WordPress website?
It may be fairly time-consuming to manually edit every publish or web page simply to switch outdated URLs. Fortunately, there are WordPress plugin that assist you automate the method of updating outdated URLs.
On this article, we are going to present you how one can simply replace URLs when transferring your WordPress website.
When and Why Do You Have to Replace URLs?
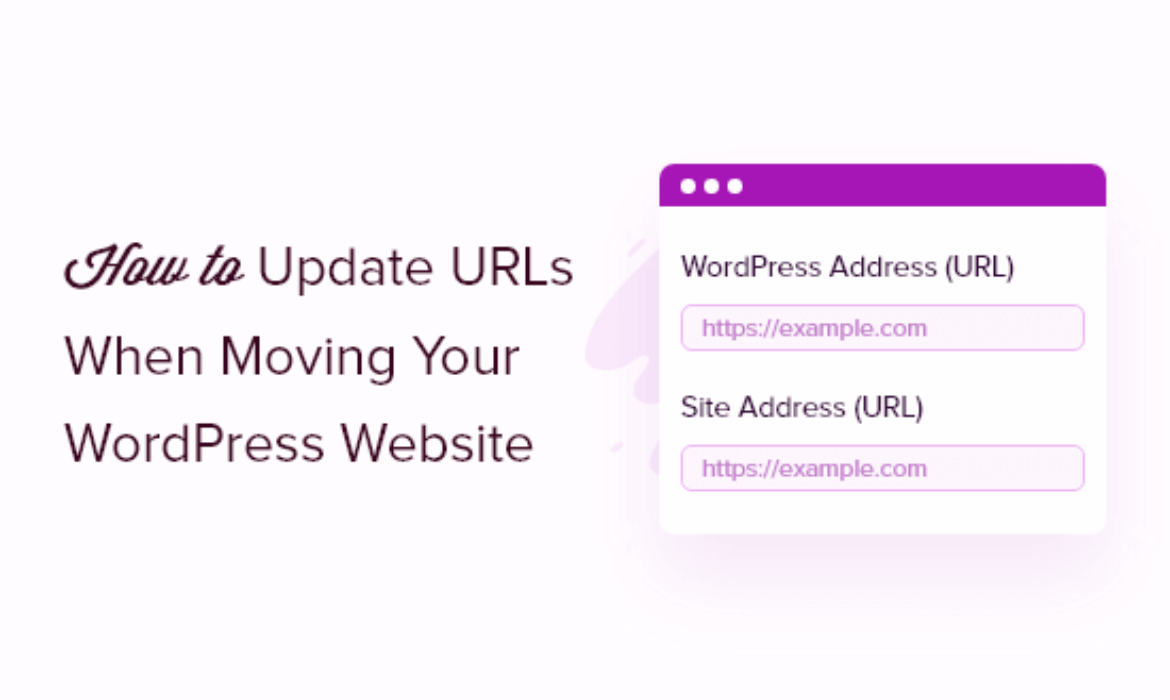
Let’s suppose you moved a WordPress website to a brand new area identify. You may then change the WordPress deal with and website URL by visiting the Settings » Common web page out of your WordPress dashboard.
Nonetheless, this doesn’t change the URLs that you’ve got beforehand added in your posts and pages. It additionally doesn’t change the URLs of pictures you could have added to your WordPress website.
Altering all these URLs manually in each weblog publish and web page could be time-consuming. Plus, there’ll at all times be an opportunity that you simply’ll miss some URLs, which might result in damaged hyperlinks in your web site.
That’s why it’s vital to replace your URLs when transferring your WordPress web site.
It helps in offering a easy consumer expertise on your customers, as they’ll simply discover the web page they’re in search of. Updating URLs additionally improves your WordPress website positioning and permits engines like google to search out new content material for indexing.
Final however not least, you additionally need to guarantee there are correct 301 redirects setup out of your outdated area to the brand new area, so customers are at all times redirected to the best place.
That is extraordinarily vital as a result of there are seemingly different web sites which can be linking to your outdated area together with social media posts, Google, and extra.
With that mentioned, let’s see how one can rapidly and simply replace URLs when migrating your WordPress website.
Replace URLs After Shifting a WordPress Web site
The simplest method to replace outdated hyperlinks in your web site is by utilizing the Go Dwell Replace Urls plugin for WordPress. It’s a free WordPress plugin and allows you to replace URLs in your posts, pages, pictures, excerpts, widgets, and extra.
Nonetheless, just remember to have a whole backup of your WordPress website earlier than updating all of the hyperlinks. This may will let you simply revert again in case one thing goes fallacious in the course of the replace course of.
Subsequent, you’ll want to put in and lively the Go Dwell Replace Urls in your website. For extra particulars, see our step-by-step information on how one can set up a WordPress plugin.
Upon activation, you may navigate to Instruments » Go Dwell out of your WordPress admin panel.
After that, you may replace URLs in your posts, feedback, choices, consumer information, and different areas of your website by checking the WordPress core tables choices within the plugin.
WordPress core tables are the place all of your web site information is organized and saved. For instance, a wp_comments desk could have all of the details about feedback in your website together with information concerning the individual commenting.
Moreover that, Go Dwell Replace Urls additionally allows you to replace outdated URLs within the information utilized by totally different plugins in your web site. Nonetheless, that is an non-compulsory step and you’ll skip it.
Subsequent, you’ll must scroll all the way down to the part for updating the outdated hyperlinks to the brand new URLs. Go forward and enter the ‘Outdated URL’ and ‘New URL’ within the respective fields.
As soon as that’s achieved, merely click on the ‘Replace Urls’ button. The plugin will now replace all of the URLs in your website to the brand new area.
Redirect Posts & Pages After Updating URLs
After you’ve up to date all of the URLs in your web site, you’ll now must arrange 301 redirects on your complete website to the brand new area. This may protect hyperlinks from websites that had been linking to your outdated area and forestall 404 errors.
The simplest manner of performing a full website redirect is by utilizing the All in One website positioning (AIOSEO) plugin. It’s the finest website positioning WordPress plugin and is trusted by over 3 million professionals.
AIOSEO gives a robust redirection supervisor that permits you to redirect outdated URLs to new ones in just some clicks. The plugin additionally helps observe 404 errors in your website, so you may rapidly discover and repair any damaged hyperlink.
For this tutorial, we’ll be utilizing the AIOSEO Professional model as a result of it contains the redirection supervisor and different options like sitemaps, customized breadcrumbs, and schema markup. You can even attempt the free model of AIOSEO to get began.
The very first thing you’ll must do is set up and activate the AIOSEO plugin in your website. Should you need assistance, then please confer with our information on how one can set up a WordPress plugin.
Upon activation, you have to to go to All in One website positioning » Dashboard out of your WordPress admin panel. Now click on the ‘Launch the Setup Wizard’ button to configure the plugin.
All you must do is comply with the steps within the setup wizard. For extra info, see our detailed tutorial on how one can setup All in One website positioning for WordPress.
1. Organising Full Web site Redirects
This methodology is tremendous helpful whenever you’re merging two separate WordPress websites into one, or in the event you’re going to setup a brand new WordPress set up for the brand new area as a result of it’ll deal with a full website redirect with out including any code.
Merely head over to All in One website positioning » Redirects out of your WordPress admin space and click on the ‘Activate Redirects’ button.
Upon activation, you’ll must navigate to the ‘Full Web site Redirect’ tab and allow the ‘Relocate Web site’ toggle. Subsequent, you may enter your new area identify within the ‘Relocate to area’ possibility.
After coming into your new area URL, don’t overlook to click on the ‘Save Adjustments’ button to retailer your settings. AIOSEO will now redirect all of the hyperlinks in your website to the brand new URL.
2. Organising Particular person Put up / Web page Redirects
AIOSEO additionally gives several types of redirection strategies that you need to use to setup particular person publish / web page redirects. We suggest choosing the ‘301 Moved Completely’ redirection sort, because it tells your browser that the web page is moved to a brand new vacation spot completely and also you don’t want to transfer it again.
When you’ve crammed out these particulars, merely click on the ‘Add Redirect’ button.
If you wish to see the totally different redirects you’ve created, then merely scroll down and consider the logs.
You may see the URLs, variety of folks that visited the hyperlink, the kind of redirection you’ve set, and in addition select whether or not to allow or disable the redirect.
Within the ‘Settings’ tab underneath Redirects , you may select to setup server stage redirects as effectively that are manner sooner. The default methodology is ready to PHP which is the simplest method to redirect outdated URLs, and it doesn’t require any server-side configuration.
However you may choose ‘Net Server’ because the redirection methodology, after which select both Apache or NGINX as your net server. We gained’t suggest this methodology for newbies because it requires technical data.
Bonus: Monitor Damaged Hyperlinks on Your Web site
Once you replace your URLs to a brand new area, it’s additionally important to regulate any damaged hyperlinks. These are hyperlinks that now not exist and present a 404 error web page. They will happen if any URL didn’t get up to date correctly.
With AIOSEO, it’s very straightforward to observe and repair 404 error pages utilizing the Redirection Supervisor.
To start, you may head over to All in One website positioning » Redirects out of your WordPress dashboard.
Subsequent, go forward and click on the ‘Settings’ tab underneath Redirects after which click on on the toggle to allow the ‘404 Logs’ and ‘Redirect Logs’ choices.
Utilizing AIOSEO, you may select the time interval to maintain your 404 error logs. We suggest that you choose now not than one month for easy and optimum WordPress efficiency.
When you’ve enabled these choices, click on the ‘Save Adjustments’ button on the prime to retailer your settings.
It’s best to now see a brand new ‘404 Logs’ tab seem underneath Redirects in AIOSEO. It’s underneath this tab the place the plugin will observe and present 404 error pages in your web site.
An vital factor to notice is that you simply gained’t see any information underneath the 404 Logs tab at first. The plugin will solely begin to report damaged hyperlinks after you’ve enabled the settings.
Nonetheless, as soon as the setting is lively, go forward and click on on the ‘404 Logs’ tab. You’ll see an inventory of damaged hyperlinks underneath the URL column, the variety of visits underneath the Hits column, and the final accessed date.
To repair any damaged hyperlink, merely click on the ‘Add Redirect’ button for the respective URL. AIOSEO will now present choices to arrange redirection for the 404 error URL.
Go forward and enter the brand new hyperlink underneath the ‘Goal URL’ discipline and choose ‘301 Moved Completely’ because the Redirection Kind from the dropdown menu.
Subsequent, you’ll must click on the ‘Add Redirect’ button to repair the damaged hyperlink in your web site.
To verify if the redirection is working, merely go to the outdated URL. Should you’re redirected to the brand new URL, then it means you’ve efficiently fastened 404 error pages.
We hope this text helped you learn to replace URLs when transferring your WordPress website. You may additionally need to see our comparability of the finest e-mail advertising companies for small companies, and finest push notification software program to develop your visitors.
Should you appreciated this text, then please subscribe to our YouTube Channel for WordPress video tutorials. You can even discover us on Twitter and Fb.
The publish How one can Simply Replace URLs When Shifting Your WordPress Web site appeared first on WPBeginner.


Subscribe to MarketingSolution.
Receive web development discounts & web design tutorials.
Now! Lets GROW Together!