
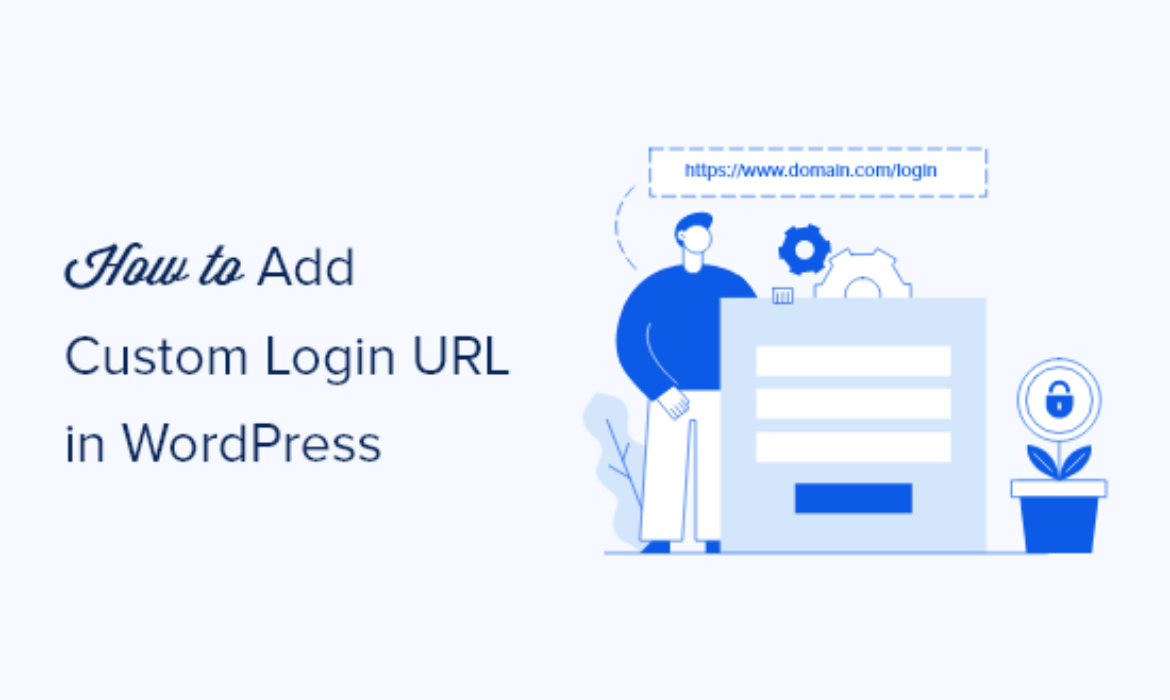
Do you need to add a customized login URL in WordPress?
Including a customized login URL in WordPress can assist enhance your WordPress safety and supply your guests a greater expertise.
On this article, we’ll present you how one can add a customized login URL in WordPress, step-by-step.
Why Add a Customized Login URL in WordPress?
WordPress is the hottest CMS platform and powers over 40% of internet sites. As a result of it’s so widespread, it’s usually a goal of hackers who use methods like brute drive assaults to attempt to log in to your dashboard.
Bots and hackers attempting to get into your web site know the frequent login URLs like wp-admin and wp-login and can attempt to get entry to your web site utilizing these URLs first.
By altering the WordPress login web page URL, you enhance your web site’s safety and make it harder for hackers to get entry to your WordPress web site.
One more reason so as to add a customized login hyperlink in WordPress is to supply a greater person expertise. You’ll be able to customise the URL and design of your login web page so it matches your branding and current WordPress theme.
With that mentioned, let’s present you how one can add a customized login URL in WordPress in just some easy steps.
How one can Add a Customized Login URL in WordPress Utilizing SeedProd
The only manner so as to add a customized login URL in WordPress is by utilizing a WordPress plugin. This allows you to merely change your WordPress login URL with out modifying any core WordPress recordsdata.
We suggest utilizing the SeedProd plugin. It’s the finest drag and drop WordPress web page builder utilized by over 1 million websites. With this plugin, you possibly can simply customise your SeedProd login web page and alter the URL.
The very first thing you should do is set up and activate the plugin. For extra particulars, see our step-by-step information on how one can set up a WordPress plugin.
Notice: There’s a free model of SeedProd, however we’ll be utilizing the premium model for this tutorial because it has the login web page templates we’d like.
Upon activation, first you’ll have to go to SeedProd » Settings and enter your product license key.
You’ll find your product license key underneath your account info on the SeedProd web site.
After that, navigate to SeedProd » Pages and click on the ‘Arrange a Login Web page’ button.
Then, you’ll be taken to a display screen that has all the login web page templates.
You’ll be able to select one of many pre-made skilled templates or choose the ‘Clean’ template to construct a login web page from scratch.
For this tutorial, we’ll select the ‘Geo Login Web page’ template.
Merely hover over the template you need to use and click on the verify icon.
This brings up a popup the place you possibly can identify your new login web page and enter a customized login web page URL.
Subsequent, click on the ‘Save and Begin Modifying the Web page’ button.
It will take you to the web page editor display screen.
You’ll be able to customise each component of the web page with the drag and drop builder.
The left aspect has blocks and sections you possibly can add to the web page, and the proper aspect exhibits an actual time preview of what it seems to be like.
While you click on on any web page component, it would convey up a menu to customise it additional.
You’ll be able to customise your login web page as a lot as you need, however we’ll go away the default settings for this tutorial.
For extra particulars on all of the customization choices, see our final information on how one can create a customized WordPress login web page.
Subsequent, you should click on the arrow subsequent to the ‘Save’ field and choose ‘Publish’ from the drop down.
Now, it’s time to alter the default login URL to your new login web page.
First, click on the ‘Web page Settings’ menu possibility on the high of the web page.
Then, scroll down the web page till you see the ‘Redirect the Default Login Web page’ possibility. Merely click on the ‘Allow’ toggle, and also you’ll see it flip orange.
It will redirect the default WordPress login web page to the brand new web page you simply created.
Don’t neglect to click on the ‘Save’ button once more to verify all your modifications are actually dwell.
Change WordPress Login Web page URL with a Free Plugin
We suggest utilizing the SeedProd plugin above as a result of it additionally permits you to simply customise your login web page to match the design of your web site.
Nonetheless, some customers will need to preserve the default WordPress login web page and solely change the login web page URL.
To do that, you should utilize the free plugin known as WPS Cover Login. This plugin permits you to merely change the login URL with out customizing the web page.
As soon as the plugin is put in and activated, navigate to Settings » WPS Cover Login.
Then, add your new login web page URL within the ‘Login url’ field.
You can too add a redirect URL within the ’Redirection url’ field.
It will redirect individuals to a different web page in your WordPress weblog once they attempt to entry the default wp-login.php web page, and so they aren’t logged in.
After that, click on ‘Save Adjustments’.
Now, all guests will mechanically be despatched to your new login web page URL.
We hope this text helped you learn to add a customized login URL in WordPress. You may additionally need to see our information on how to decide on the perfect internet design software program, and our checklist of the finest e-mail advertising and marketing companies for small companies.
For those who preferred this text, then please subscribe to our YouTube Channel for WordPress video tutorials. You can too discover us on Twitter and Fb.
The publish How one can Add a Customized Login URL in WordPress (Step by Step) appeared first on WPBeginner.


Subscribe to MarketingSolution.
Receive web development discounts & web design tutorials.
Now! Lets GROW Together!